如何发布自己的Maven包
前言
在开发springboot starter的时候发现,如果写完的starter直接导入已有工程有些问题,还是要上传到maven然后通过maven引入比较规范,但是每次通过网页管理上传maven包太过麻烦,所以配置了一下通过idea直接deploy上私有仓库,下面记录一下过程。
新建Maven库
1、以管理员身份登录maven私服
2、Repository –> Repositories –> create Repositories
选择maven2(hosted) –> Version policy 根据需要选择Release 或 Snapshot
IDEA配置maven settings
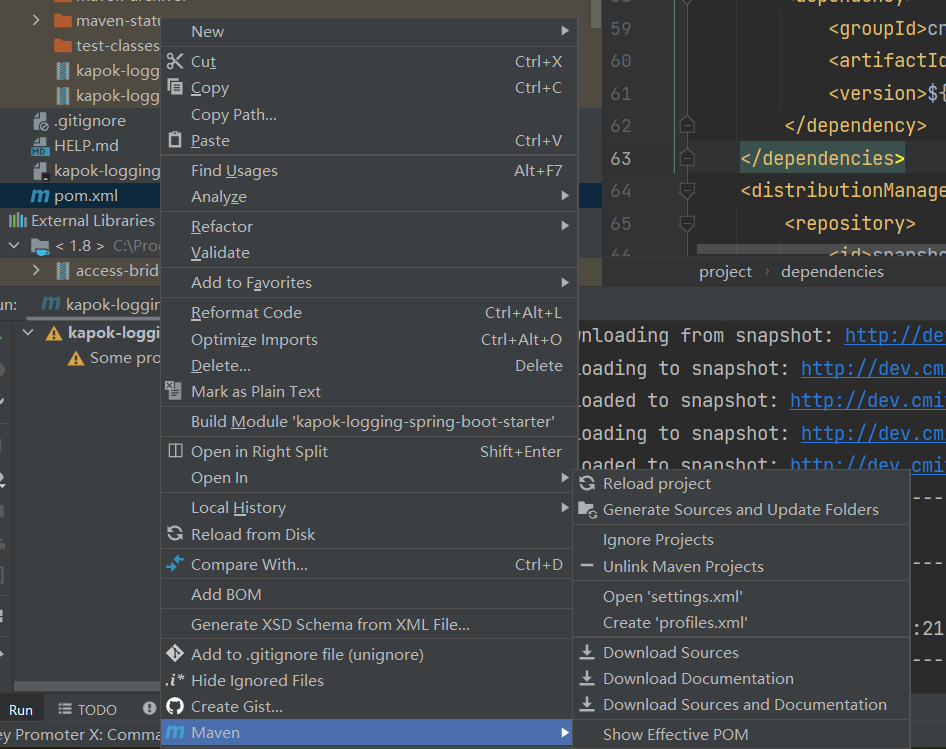
1、 右键pom –> Maven –> open ‘settings.xml’
2、配置nexus的账号密码
1
2
3
4
5
6
7
8
9
10
11
12
<settings xmlns="http://maven.apache.org/SETTINGS/1.0.0"
xmlns:xsi="http://www.w3.org/2001/XMLSchema-instance"
xsi:schemaLocation="http://maven.apache.org/SETTINGS/1.0.0 http://maven.apache.org/xsd/settings-1.0.0.xsd">
<servers>
<server>
<id>snapshot</id>
<username>admin</username>
<password>devnexus@1234</password>
</server>
</servers>
</settings>
配置starter项目
1、pom中添加一下代码:
1
2
3
4
5
6
7<distributionManagement>
<repository>
<id>snapshot</id>
<name>snapshot</name>
<url>http://dev.cmitgf.com:28081/repository/snapshot/</url>
</repository>
</distributionManagement>
部署
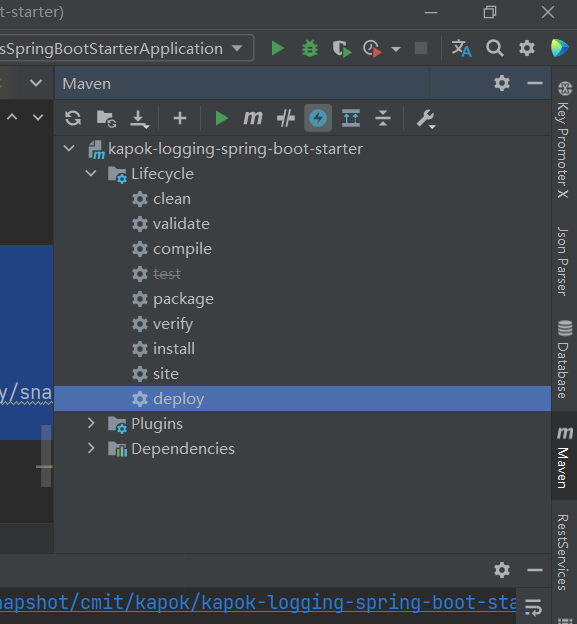
maven deploy即可。
如果你只需要安装在本地maven,只需要maven install
如何发布自己的Maven包